Want to have a go at creating a super cool cat house for your cat or kitten? Wondering where to start, what you need and what to do? Then you’ve come to the right place! Here’s our DIY Cardboard Cat House Tutorial, sharing how to make a cat house, with things you already have in your home. So let’s get stuck straight in, shall we?
Disclaimer: An Amazon Associate, I earn from qualifying purchases. There may be affiliate links within the post.
How To Make a DIY Cardboard Cat House
So when it comes to cardboard cat houses, there’s plenty you can buy, readymade. From coloured “playhouse” cat houses, to multi-layer cat houses with toys. Then there’s tower cat houses which connect with bridges(!) and even space-ship cat houses -to mention just a few!
There’s no denying, they’re pretty damn impressive… But they’re also pretty expensive too, and there’s the fact that – actually – if you put a little time and effort in, you could probably just make them yourself!
So how do you go about it? How do you make a DIY cardboard cat house, using things you will already have in your home? Well, let’s get into the step-by-step tutorial, shall we?
DIY Cardboard Cat House Tutorial
When it comes to making a DIY cardboard cat house, it’s actually easier than you may think.
What You Need:
- Cardboard boxes (+ paper packaging.)
- Scissors
- Wide Sellotape / Duct Tape
- Pen / Pencil (optional)
That’s literally it! You could also use a stapler to secure things together further. Or a glue-gun always works well. These aren’t actually that expensive and are far more effective than tape (so are well worth investing in, if you’re interested in getting into arts and crafts more!)
Before You Start:
So before you build your DIY cardboard cat house you have to make sure you have all the things you need.
With a new kitten on the way, we had plenty of boxes lying around already. Some of our boxes has taken a bit of a “battering” but I picked the sturdiest ones that I thought would be useful, or a good size.
I chose one large one, one shoe box one, an extra one for the “roof” idea that I had, and I ended up using part of another box to strengthen it all (as you’ll soon see.) I also used a circular postage tube and some of the brown paper wrapping that went with it. And THAT’S IT!

Step 1:
To get started the, I took the biggest box and began by cutting a hole in the largest side, at the centre. I drew a rough guideline around it beforehand, then just judged the rest by eye; making it as neat as I could.
At the end of the day – your cat / kitten won’t even notice if it’s “purrfect” or not. The most important thing is that they can get in!

Step 2:
After I’d finished the cut out on the first box (which would be the “main door”), I created another hole on the second box – again, on the longest side. This was closer to the edge as the two boxes will be interlinked.
Instead of cutting the opening off, I also kept it on there, to create a little strength when fixing it to the bigger box…

Step 3:
The “trickiest” thing about making the two-room cat house, was getting the doors to match up. To do this, I started by cutting a small section out of the corner of the big box.
I then aligned it against the second box where the door was and held it there, cutting along the big box to match the size, until eventually they were the same.
I then sellotaped the door of the smaller box, down onto the floor of the bigger box and also secured it further by sellotaping the two boxes together on the back too.

Step 4:
Once I had the two connected boxes and knew that I wouldn’t need to go inside the big one again, so I taped it up and then cut out another piece of card and made the sellotape double sided to fit that on top as an extra “double roof”.
I did this to make it more stable – especially as I now had the idea to turn the roof into a seating area too! (So this is now double-layered and slightly overlapping the roof of the box so that it’s able to take more weight in the centre.)

Step 5:
After that, I finished the roof by carefully unfolding my smaller box, pulling across the glue lines where it was naturally put together, but keeping the fold lines.
I wrapped it over the roof and secured each side with lots of sellotape – on both the inside and the outside.

Step 6:
Next up, it was time for the chimney, which – to be honest – I guess looks more like a palm tree than anything else, but, either way, I was super happy with it.
To do this, I simply wrapped the circular postage tube with brown paper, folding excess on the bottom inside it, and sticking the excess on the top up – then out. I then frayed the excess on the top so that it was like lots of little paper streamers.
After that I placed the tube on the corner of the shoe box, so that the shoe box could still be opened and closed; securing this with lots of sellotape.

Step 7:
The last thing I did then, was just cover the top and back of the roof with the final bit of brown paper.
This finished it off perfectly! Not only did it cover the roof and make it look better, adding a little more texture. But by covering the back, it made it a little more cosy!
Cats (and particularly kittens) love spaces to hide in (and the smaller the better it seems!) So this meant the roof was now a key spot in the cat house and another great feature!

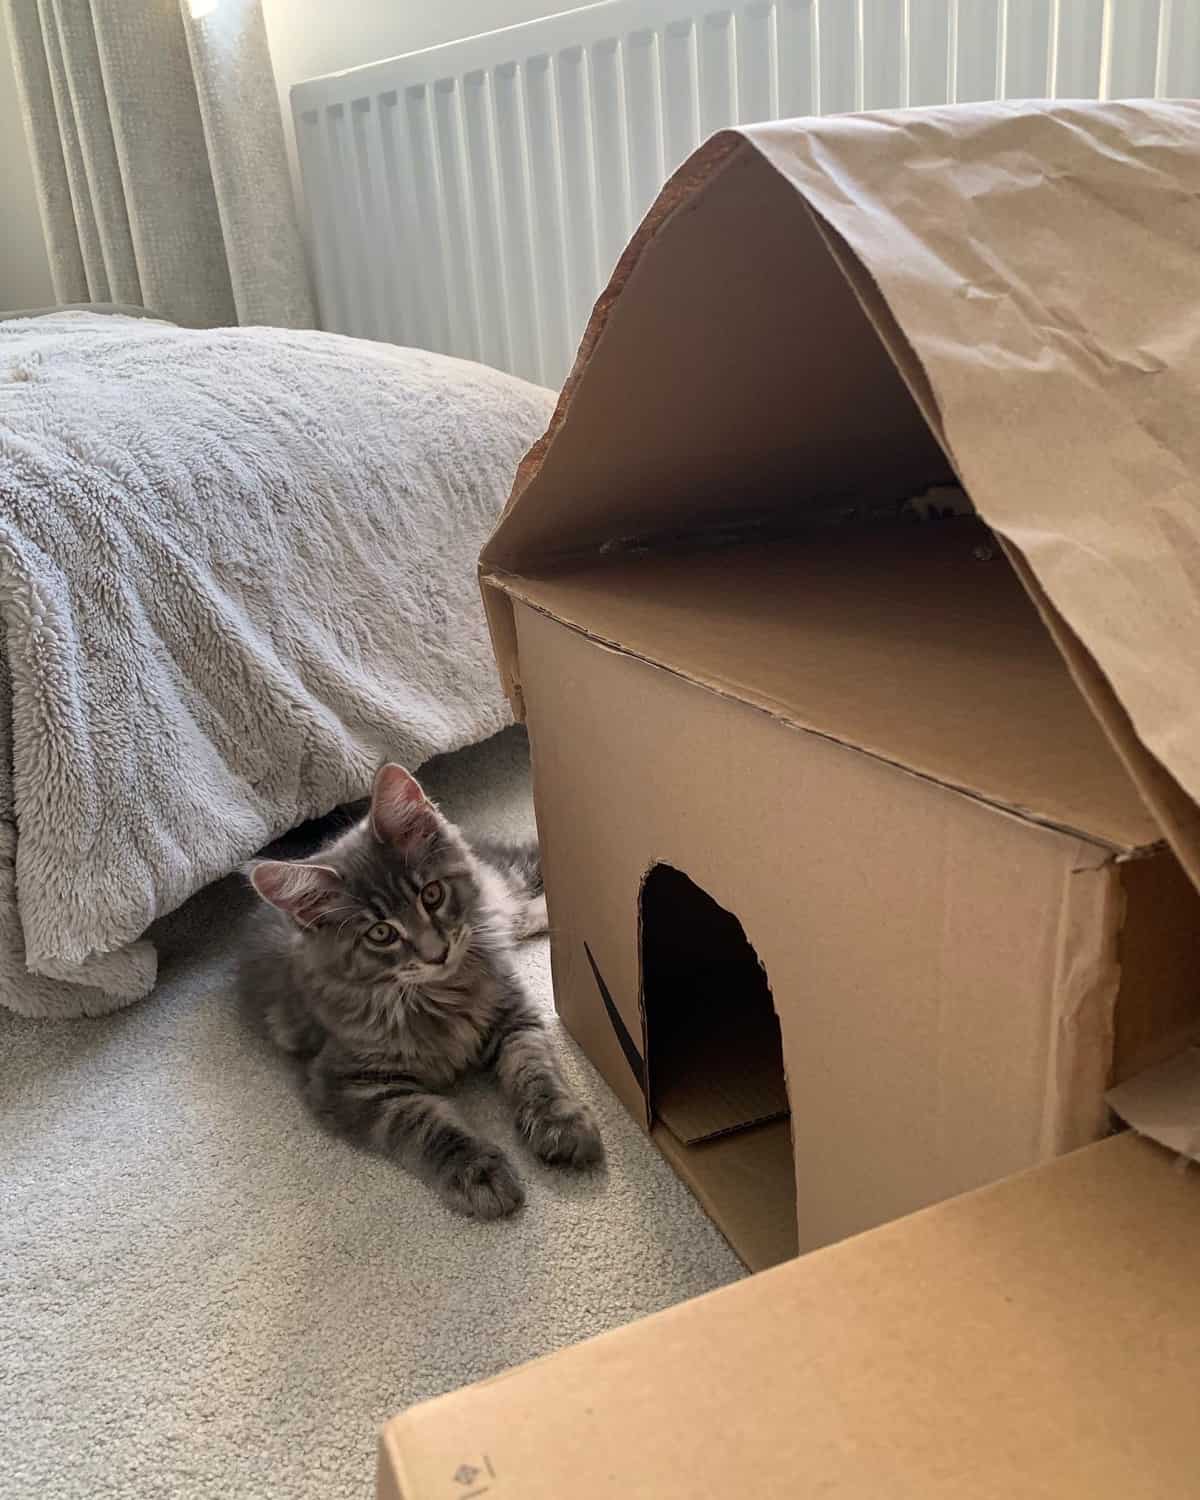
Our DIY Cardboard Cat House
By the end, our DIY cardboard cat house had:
- A main entrance and main room.
- A secret door, with a hidden room.
- An “owners opening” on the hidden room (as I used a shoe box for this bit) so you can peek inside and see if you cat / kitten is hiding in there! (Of course, if you do use a shoe box, it’s then most suited to small cats or kittens.)
- A roof “pad” when your cat / kitten can also chill out in.
- PLUS: the “playing palm-tree!”
Here’s a few snaps of him playing in it:
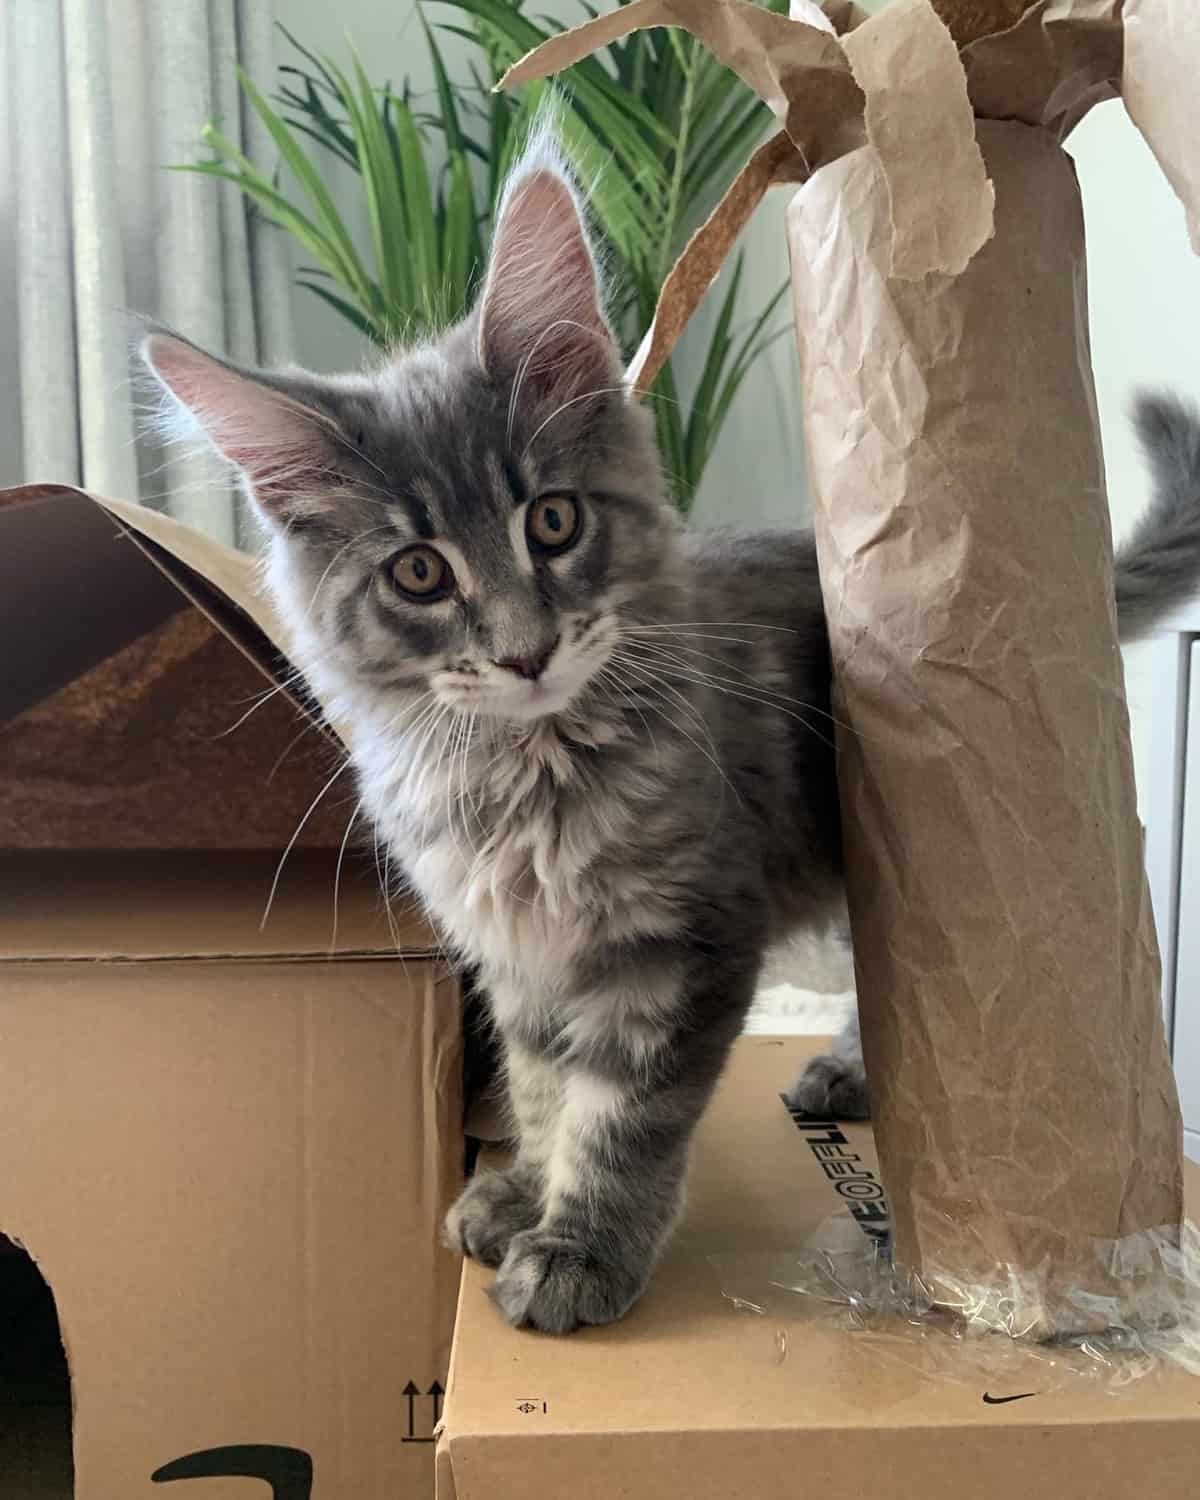
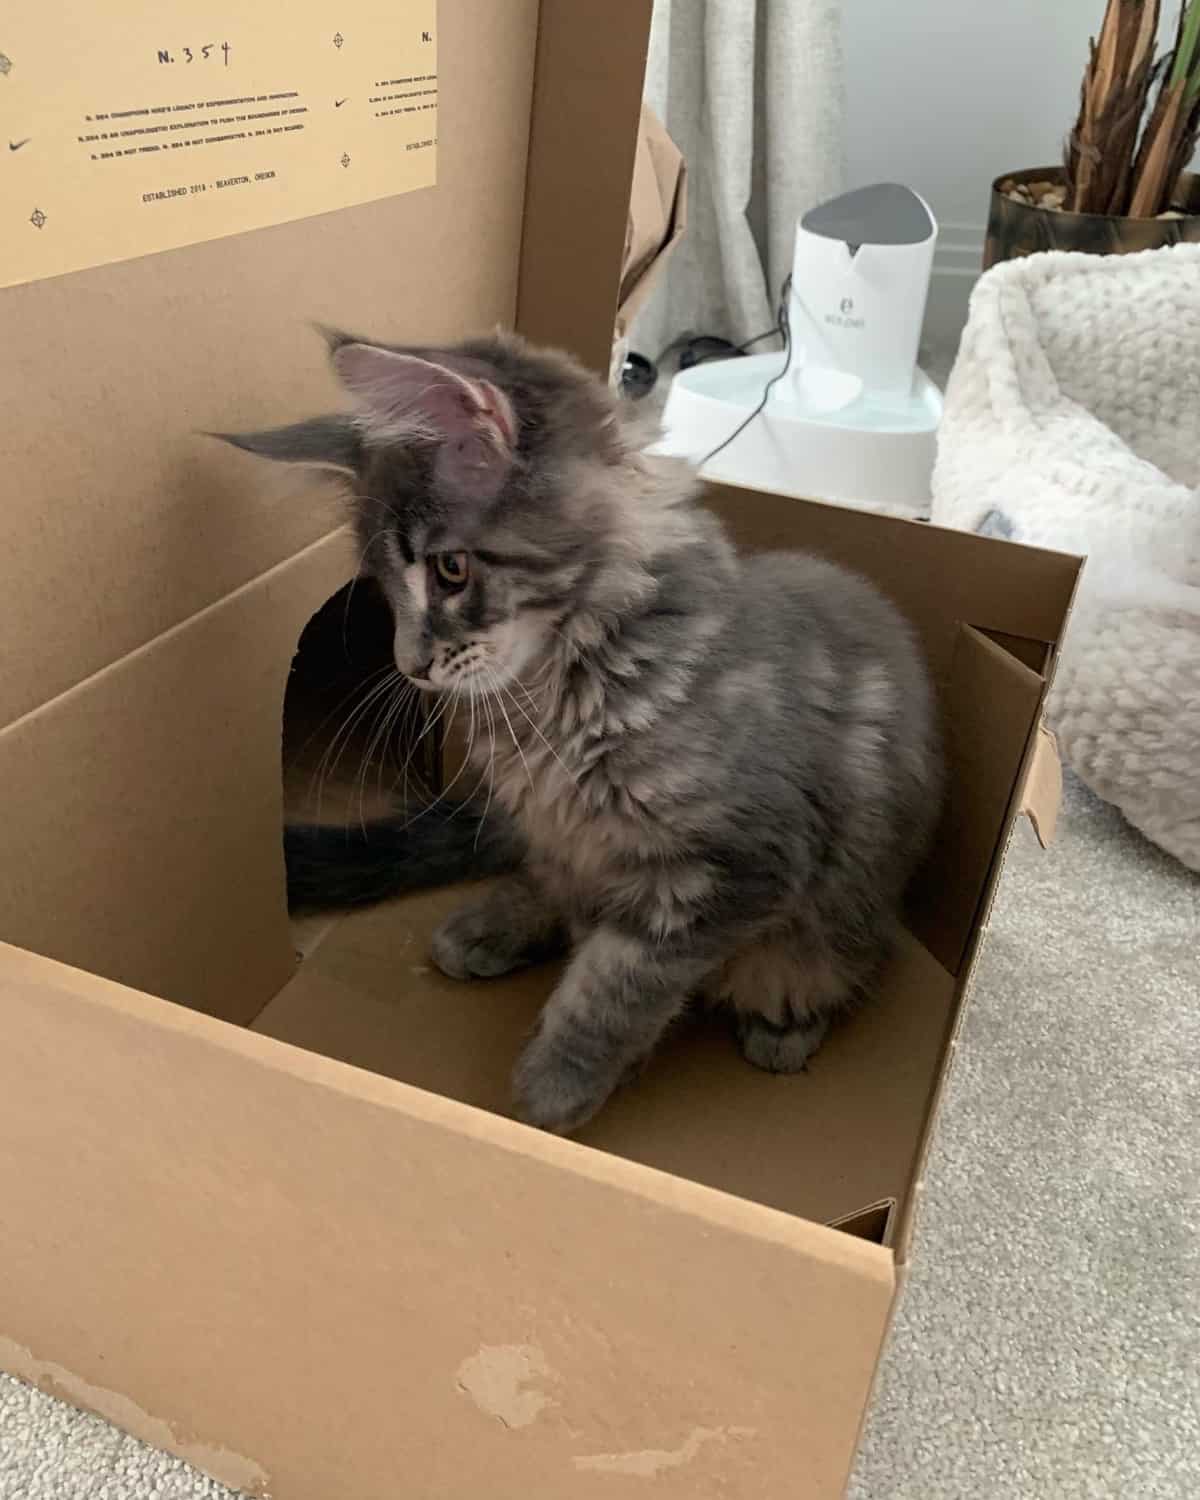
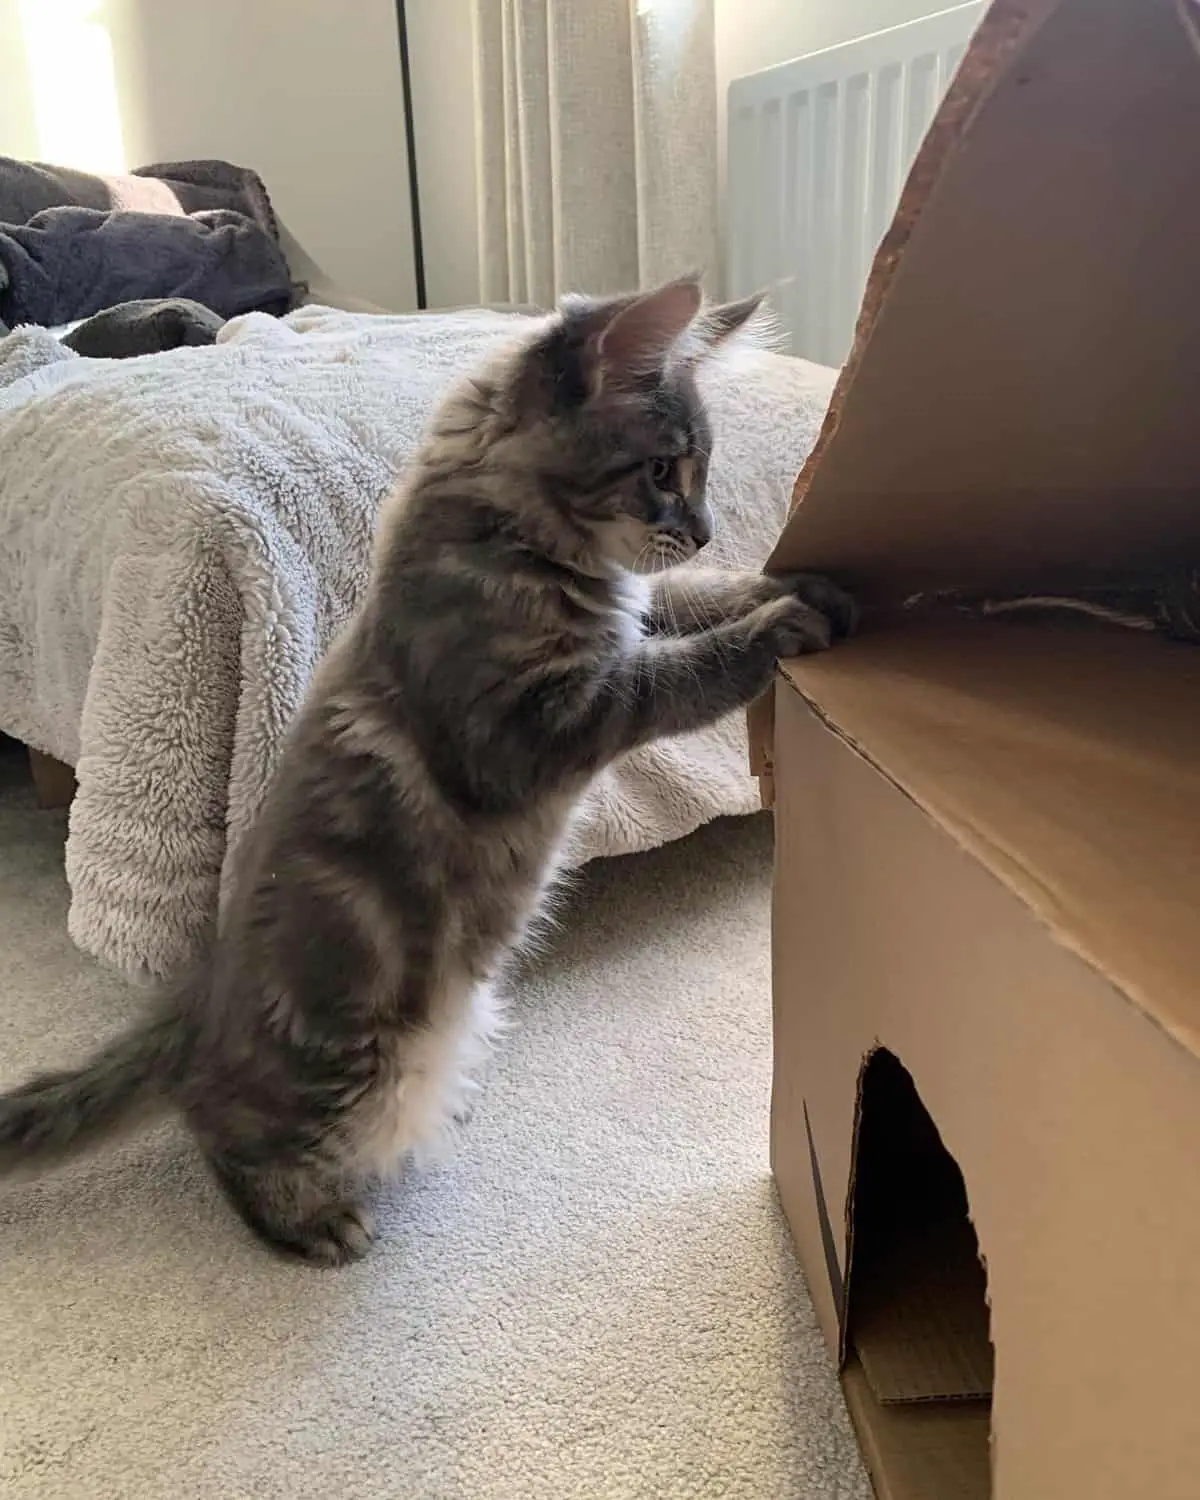
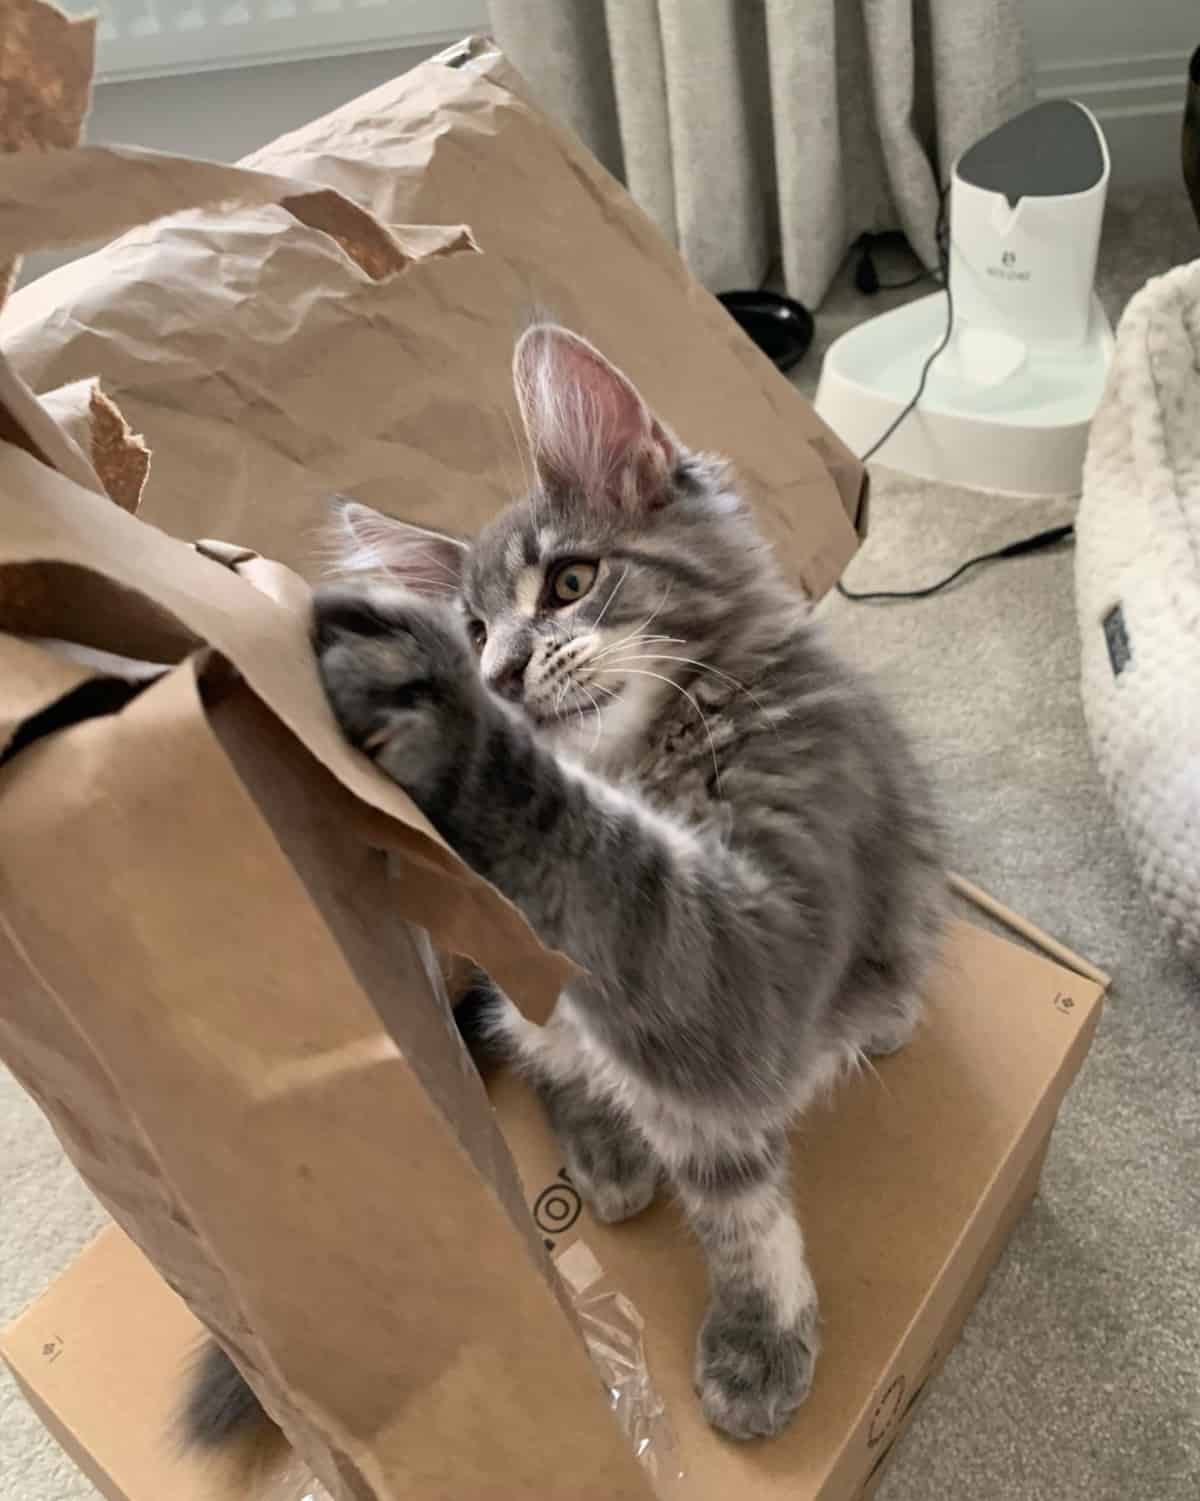
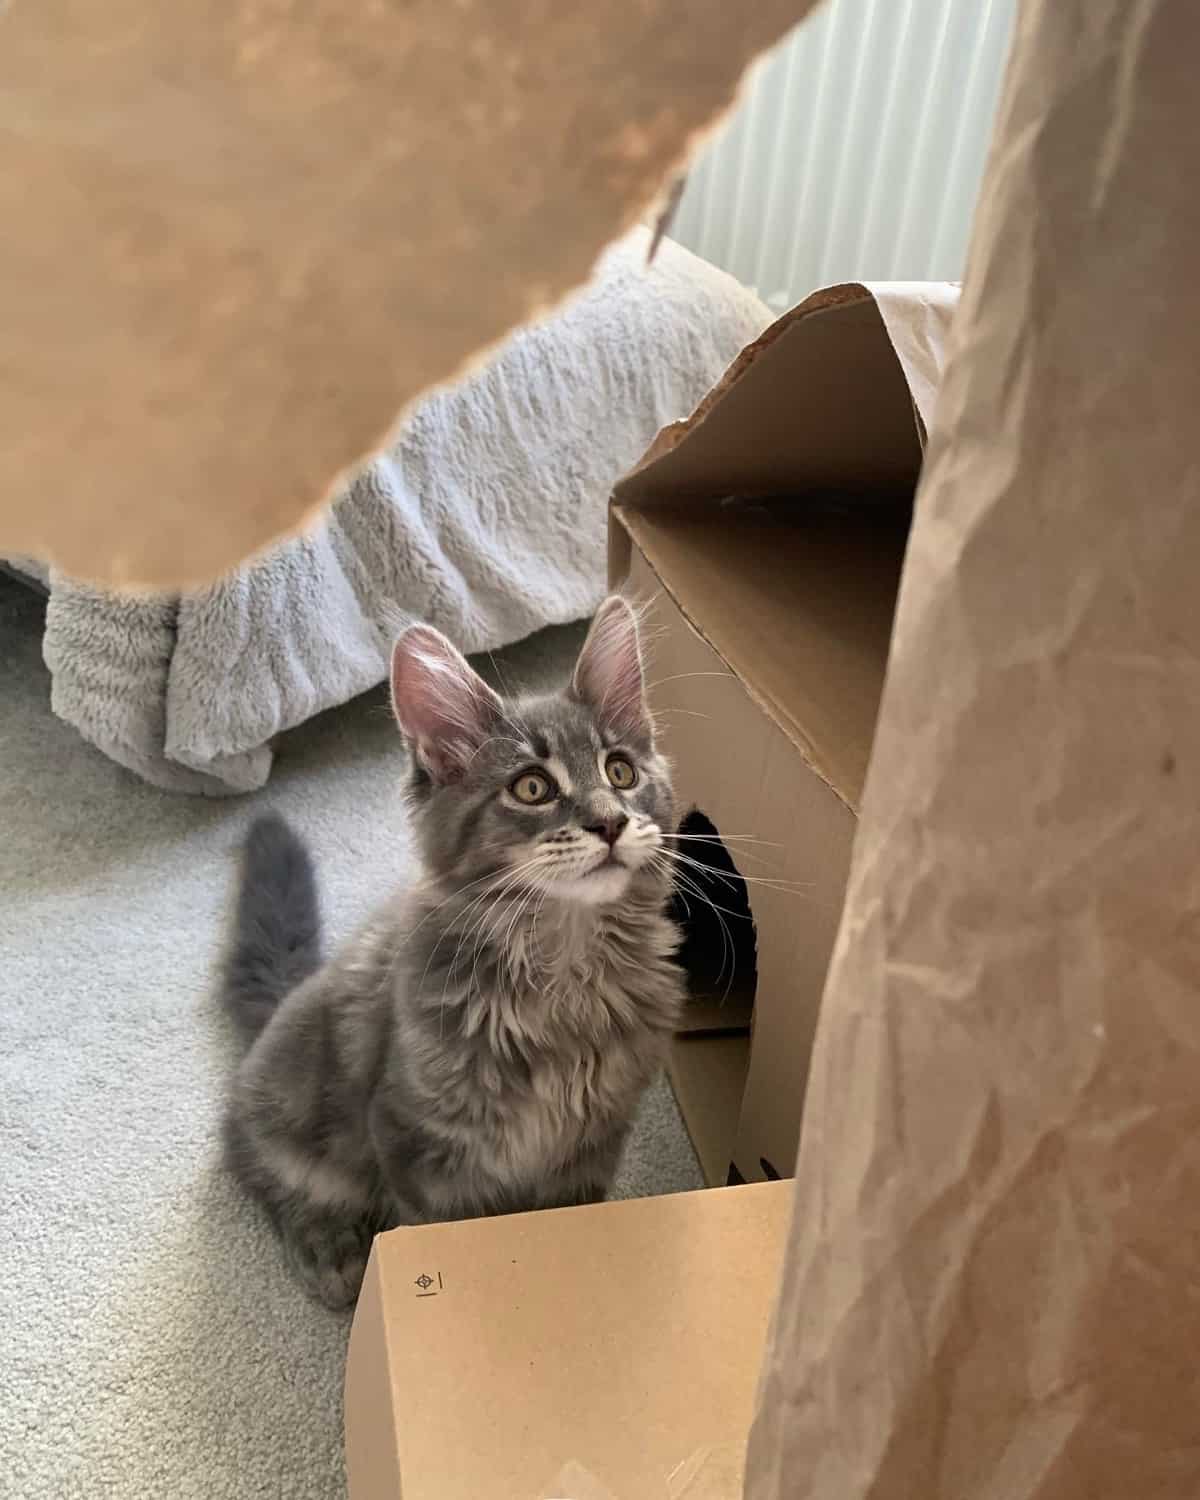

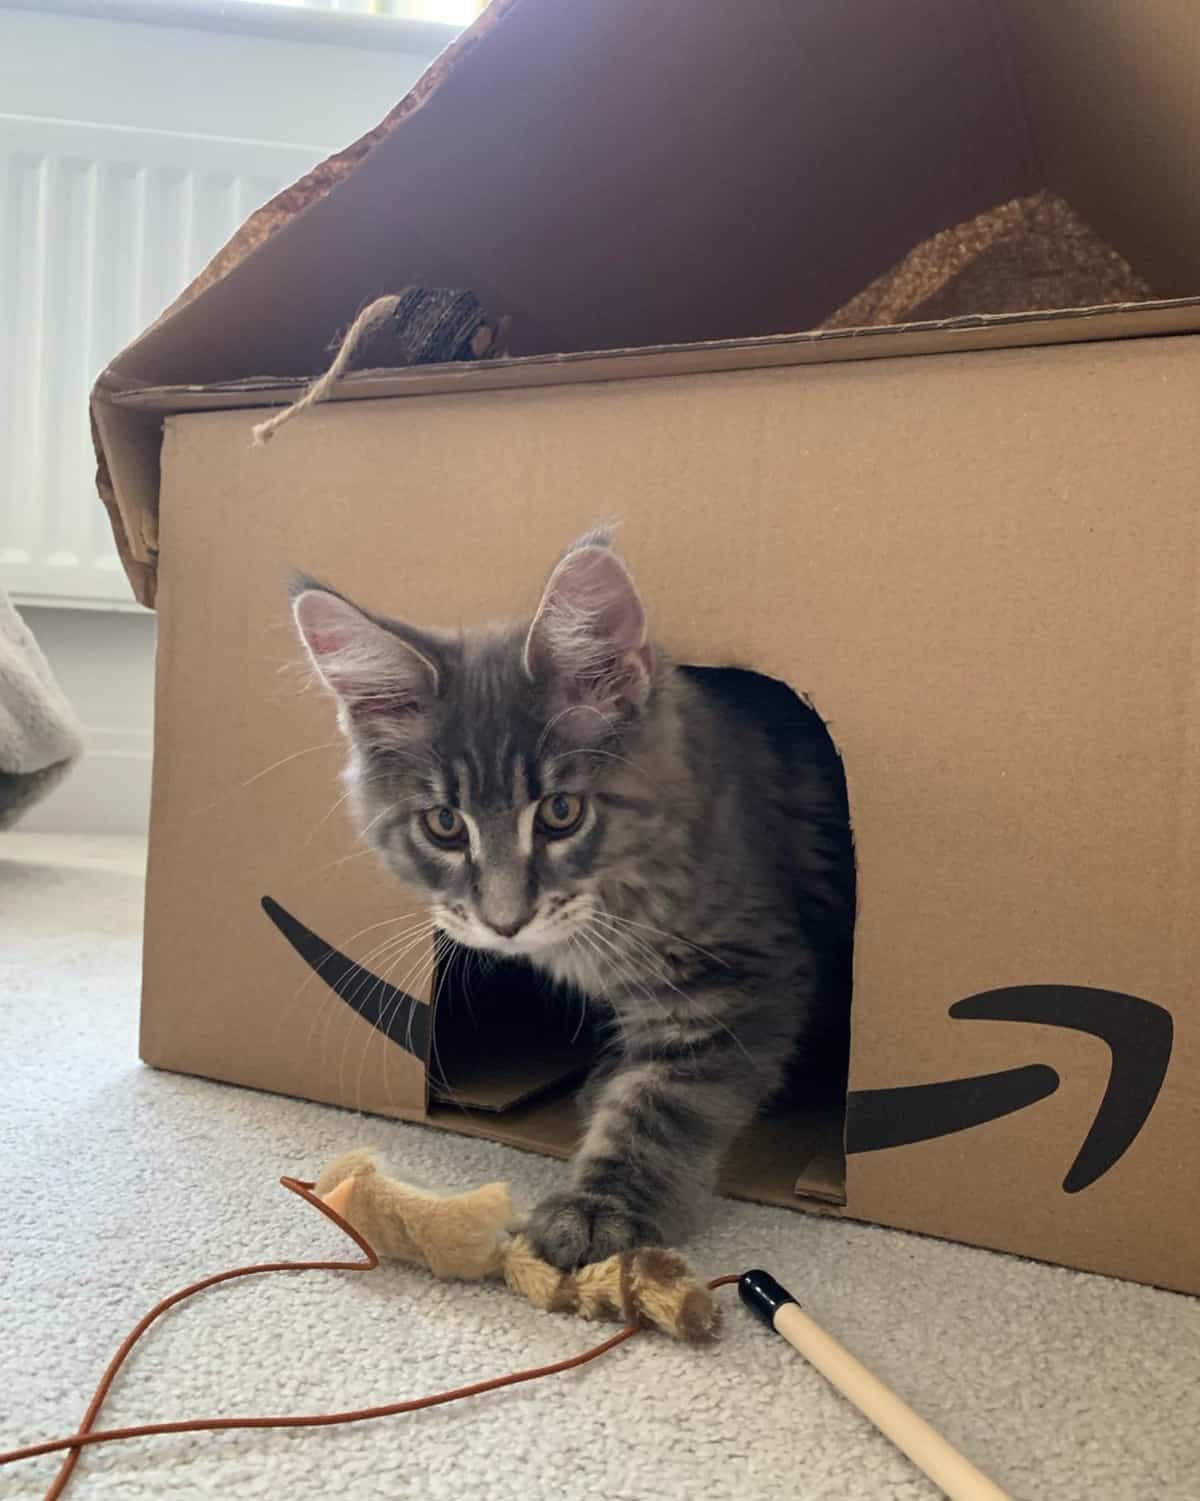
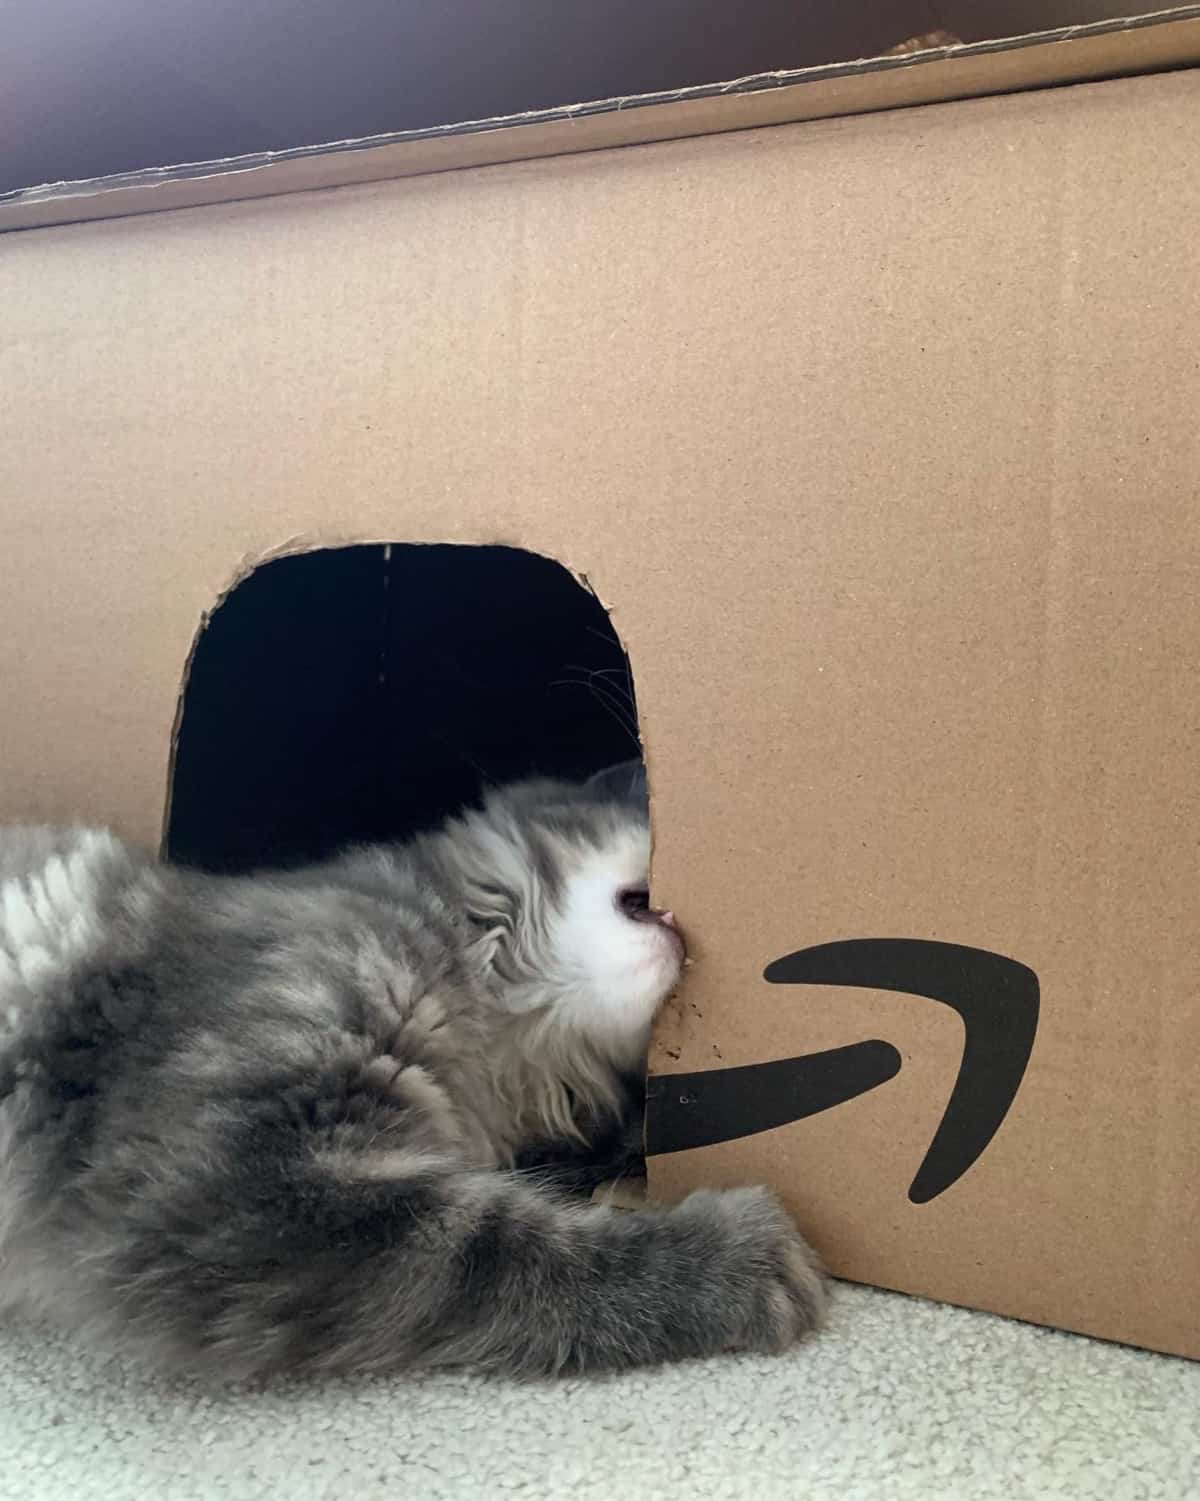
In fact, Cody was straight in his Cardboard Cat House the moment we got him. Watch here:
How To Make a DIY Cardboard Cat House
From this, you can now follow these steps exactly to replicate the same cardboard cat house as ours.
Or you can add a few extra elements / tweak some of the stages to make your own DIY cardboard cat house and see how that comes out like. (It’s entirely up to you.)
But that’s the best thing about it… Once you get going and ideas get flowing, you’re bound to tweak it along the way. This only makes it more fun!
I had a great time cracking on with our cardboard cat house and I hope you have as much fun with it too!
Good luck. Enjoy! For more tips, ideas and inspiration, be sure to browse our articles.
